To install a whole house water softener, follow these steps: shut off the main water supply, install the bypass valve, connect the unit to the water supply line, position the unit near a drain, connect the drain line, and finally, connect the brine tank. Welcome to the guide on how to install a whole house water softener.
If you’re struggling with hard water issues, installing a water softener can help eliminate mineral deposits and improve the quality of your water throughout your home. In this guide, we’ll walk you through the step-by-step process of installing a whole house water softener.
By the end, you’ll have a much better understanding of how to tackle this project and enjoy the benefits of soft water in your home. So, let’s get started!
Why Water Softeners Are Important For Your Home
Installing a whole house water softener is a smart move for any homeowner. Hard water, which is water that contains excessive minerals like calcium and magnesium, can have a negative impact on your home. It not only affects the taste and smell of your water but also leaves behind mineral deposits that can gradually clog your plumbing system and damage your appliances. To prevent these issues and enjoy the benefits of soft water, it is essential to install a water softener in your home. In this article, we will discuss the benefits of using water softeners and the impact of hard water on your home.
Benefits of using water softeners
Water softeners offer numerous benefits for you and your home:
- Improved water quality: Using a water softener removes hard minerals, such as calcium and magnesium, from your water supply, resulting in soft water that is gentler on your skin and hair.
- Extended lifespan of appliances and plumbing: By reducing mineral buildup, water softeners can significantly extend the lifespan of your appliances like washing machines, dishwashers, and water heaters, as well as your plumbing system.
- Reduced energy consumption: With softened water, appliances such as water heaters and dishwashers operate more efficiently, leading to potential energy savings and lower utility bills.
- Less soap and detergent usage: Soft water lathers more easily, allowing you to use less soap, shampoo, and detergents. This not only saves you money but also helps the environment by reducing chemical waste.
- Cleaner and spot-free dishes and glassware: Hard water often leaves behind unsightly spots and streaks on dishes and glassware. By using a water softener, you can say goodbye to these pesky water spots, leaving your dishes sparkling clean.
Impact of hard water on your home
Hard water can have adverse effects on various aspects of your home, including:
- Mineral buildup in plumbing: Over time, hard water minerals can accumulate inside your pipes and fixtures, leading to reduced water flow and increased risk of clogs.
- Scale deposits on bathroom fixtures: Hard water leaves behind scale deposits on faucets, showerheads, and other bathroom fixtures, which not only look unsightly but can also decrease their lifespan.
- Stained and dull-looking clothes: Washing clothes in hard water can cause them to become stiff, faded, and discolored. Soft water, on the other hand, ensures brighter and longer-lasting garments.
- Difficulty in cleaning: Hard water makes cleaning tasks more challenging because it doesn’t lather well with soap, leading to the formation of soap scum and leaving a residue on surfaces.
- Inefficient appliance performance: Appliances like dishwashers and washing machines may experience reduced efficiency and performance due to the buildup of minerals in pipes, valves, and heating elements.
By installing a whole house water softener, you can mitigate these issues and enjoy the benefits of soft water throughout your home. Not only will your appliances and plumbing last longer, but you’ll also notice cleaner dishes, softer laundry, and a more enjoyable bathing experience.
Choosing The Right Water Softener System
When it comes to selecting a water softener system for your home, it’s important to choose one that meets your specific needs. With a plethora of options available in the market, finding the right system can seem daunting. However, by considering a few key factors and understanding the different types of water softeners, you can make an informed decision. In this section, we’ll discuss the factors to consider when selecting a water softener, the different types available in the market, and how to determine the size and capacity suitable for your home.
Factors to consider when selecting a water softener
Before purchasing a water softener, several factors need to be considered to ensure you make the right choice. These factors include:
- Water hardness: Measure the hardness of your water using a test kit or by checking your municipality’s water report. This will help you determine the level of hardness the water softener needs to handle.
- Water flow rate: Consider the average water flow rate in your home, typically measured in gallons per minute (GPM). Different systems have different flow rate capacities, so it’s important to choose one that can handle your household’s demand.
- Regeneration type: Water softeners use either timer-based regeneration or demand-initiated regeneration (DIR) systems. Timer-based systems regenerate at set intervals, regardless of actual usage, while DIR systems monitor water usage and regenerate based on demand. Decide which regeneration type suits your lifestyle and water usage patterns.
- Salt-based or salt-free: Salt-based water softeners use ion exchange to remove minerals, while salt-free systems use alternative technologies. Consider the benefits and drawbacks of each type to determine which aligns with your preferences and needs.
- Installation space: Consider the available space for installing the water softener. Some systems require more space for installation and maintenance compared to others. Ensure you have enough room for the chosen system.
Different types of water softener systems available in the market
When it comes to water softener systems, there are various options to choose from. The most common types include:
| Type | Description |
|---|---|
| Salt-based ion exchange systems | These systems remove minerals, such as calcium and magnesium, through a process of ion exchange, where the hardness ions are replaced with sodium or potassium ions. |
| Salt-free water conditioners | Also known as water descalers, these systems don’t remove minerals but change their structure so they don’t adhere to surfaces. They are suitable for those looking for an alternative to salt-based systems. |
| Magnetic or electronic water softeners | Using magnetic fields or electronic pulses, these systems aim to change the physical properties of minerals to prevent them from causing scale buildup. However, their effectiveness is debated. |
Determining the size and capacity of the water softener suitable for your home
To ensure your water softener can meet your household’s needs, it’s crucial to determine the appropriate size and capacity. The size of a water softener is typically measured in grains, which represents the amount of hardness the system can remove before regeneration is necessary. Here’s a simple formula to determine the suitable size:
- Calculate the daily water usage in gallons: Multiply the number of people in your household by the average daily water usage per person (typically around 75 gallons).
- Estimate the hardness level: Multiply the grains per gallon (GPG) by the average daily water usage to get the total grains of hardness you need to remove.
- Consider factors like water flow rate and regeneration frequency: These factors may influence the size and capacity required for your specific needs.
By considering these factors and understanding the different types of water softener systems available, you’ll be well-equipped to choose the system that best suits your home and lifestyle. Remember to take your time, do your research, and consult with professionals if needed. Investing in the right water softener system ensures you’ll enjoy the benefits of softened water throughout your entire home.
Planning The Installation Process
Evaluating the Location for Installation
Before you begin the installation process of a whole house water softener, it is crucial to carefully evaluate the location where the system will be installed. This will ensure that you choose the most suitable spot for optimal functionality and convenience.
One important consideration is to find a location that is close to the main water supply line. This will minimize the length of piping required and make the installation process more efficient. It is also essential to choose a spot that is easily accessible for maintenance purposes. Keep in mind that the system will need regular check-ups and possible repairs, so accessibility is key.
Additionally, it is recommended to select an area that is well-ventilated. Water softeners often generate heat during the regeneration process, so proper ventilation will prevent overheating and potential damage to the system.
Ensuring Proper Space and Accessibility for the System
The next step in planning the installation process of a whole house water softener is to ensure that you have enough space for the system. Water softeners can vary in size, so it is important to check the dimensions of the system you have chosen and allocate enough space accordingly.
You should also make sure that there is enough space around the system for easy access during maintenance and servicing. It is recommended to leave at least a few feet of clearance around the unit to allow for easy maneuverability.
In addition to space considerations, it is important to ensure that the area where the water softener will be installed is sturdy and level. The system will be connected to the main water supply line and will require a secure and stable surface to avoid any potential leaks or damage.
Determining the Water Supply Line and Suitable Plumbing Connections
Understanding the water supply line and suitable plumbing connections is a vital aspect of planning the installation process of a whole house water softener. This will ensure that the system is connected properly to guarantee its optimal functioning.
The first step in determining the water supply line is to locate the main water shutoff valve. This valve is typically found near the water meter or where the main water line enters your home. It is important to shut off the main water supply before you begin any plumbing work.
Next, you will need to install the necessary plumbing connections for the water softener. This includes connecting the inlet and outlet pipes to the main water supply line. Typically, a bypass valve is also installed to allow you to isolate the water softener during maintenance or repairs.
It is crucial to use the correct type and size of plumbing connections to ensure a secure and leak-free installation. Consult with a professional plumber or refer to the manufacturer’s instructions to ensure you have the right materials for the job.
Gathering The Necessary Tools And Materials
Tools required for installation
Before you begin installing a whole house water softener, make sure you have the necessary tools on hand. Having the right tools can make the installation process much easier and efficient. Here are the essential tools you will need:
- Adjustable wrench
- Pipe cutter
- Tubing cutter
- Fitting brush
- Plumber’s tape
- Measuring tape
- Drill
- Screwdriver set
- Hacksaw
- Pipe wrench
- Level
Materials needed for plumbing connections
In addition to the tools, you will also need various materials to establish the plumbing connections for your water softener. These materials include:
- Copper or PEX pipes
- Pipe fittings (such as elbows, tees, and couplings)
- Pipe sleeves or insulation
- Pipe clamps
- Compression fittings
- Shut-off valves
- Soldering materials (if using copper pipes)
- Teflon tape or pipe dope
Making sure you have all the necessary materials beforehand will save you time and prevent interruptions during the installation process.
Additional components and accessories for the water softener system
Aside from the tools and materials mentioned earlier, there are a few additional components and accessories you may need to complete your water softener installation:
| Component/Accessory | Purpose |
|---|---|
| Water bypass valve | To divert water flow when maintenance or repairs are needed |
| Brine tank and float assembly | To hold the salt and regulate the regeneration process |
| Resin tank | To house the resin beads that remove hard minerals from the water |
| Control valve | To regulate the water flow and initiate the regeneration cycle |
| Electrical connection | To power the control valve and other electronic components |
| Salt replacement | To replenish the salt supply when needed |
These additional components and accessories play vital roles in the water softening process, ensuring optimal performance and maintenance of your system.
Preparing For Installation
Before installing a whole house water softener, it’s crucial to properly prepare the area and gather the necessary tools and materials. This step-by-step guide will walk you through the process of preparing for installation, ensuring a smooth and successful outcome.
Turning off the water supply
The first step in preparing for the installation of a whole house water softener is to turn off the water supply. Locate the main water shut-off valve, usually located near the water meter or where the water line enters your home. Rotate the valve clockwise until it is completely closed, effectively stopping the water flow.
Draining the water pipes
Once the water supply is shut off, it’s essential to drain the water pipes to avoid any residual water causing a mess during the installation process. Start by opening all the faucets in your home, including outdoor spigots, to allow the water to drain out completely. You may also need to flush toilets and run any appliances that use water to ensure complete drainage.
Removing the existing plumbing fittings if necessary
If you’re replacing an existing water softener or have any old plumbing fittings in place, you’ll need to remove them before installing the new one. Carefully unscrew and disconnect any pipes or fittings connected to the water softener. Use appropriate tools, such as pipe wrenches or pliers, to ensure a secure grip and ease of removal.
Once all the old plumbing fittings are removed, inspect the area for any signs of damage or leaks. It’s essential to address any issues before proceeding with the installation to avoid further complications down the line.
By following these simple steps, you’ll be ready to proceed with the installation of your whole house water softener. In the next section, we’ll cover the actual installation process in detail, providing you with everything you need to successfully set up your water softening system.
Installing The Water Softener System
Connecting the water softener to the main water supply line
Once you have chosen the perfect location for your whole house water softener system, it’s time to connect it to the main water supply line. This step is crucial as it ensures that all the water flowing into your house gets treated and softened.
- Shut off the main water supply: Before you begin connecting the water softener, ensure the main water supply is turned off. This will prevent any water from flowing through the pipes during the installation process.
- Locate the main water supply line: Identify the main water supply line in your house. It is usually located near the water meter or where the line enters your home.
- Cut the main water supply line: Using a pipe cutter, carefully cut the main water supply line. Make sure to measure and mark the spot accurately to ensure a clean and precise cut.
- Prepare the fittings and connectors: Take the compression fittings and connectors provided with the water softener system. These will be used to connect the unit to the main water supply line.
- Connect the fittings and connectors: Attach the compression fittings and connectors to the water softener unit and the main water supply line. Ensure that they are securely tightened to prevent any leaks.
- Turn on the water supply: Once everything is connected, turn on the main water supply to check for any leaks. Inspect the connections carefully and make sure they are watertight.
Installing bypass valves for maintenance and regeneration
Installing bypass valves is an essential part of the water softener system installation process. Bypass valves allow you to divert water around the water softener unit when maintenance or regeneration is required.
- Locate the inlet and outlet pipes: Identify the pipes connected to the water softener unit. These are usually labeled as “inlet” and “outlet.”
- Prepare the bypass valve connections: Take the bypass valve assembly provided with the water softener system. This typically includes the bypass valve and the necessary connectors.
- Attach the bypass valve: Connect the bypass valve assembly to the inlet and outlet pipes of the water softener unit. Ensure that the connection is secure and tight.
- Test the bypass valves: Once installed, test the bypass valves by turning them to the bypass position. This will allow water to flow around the water softener. Conversely, turning them to the service position will direct water through the softener system.
Mounting the water softener unit in the designated location
Mounting the water softener unit in the designated location is the final step to complete the installation process. Proper positioning of the unit is crucial for optimal performance and ease of maintenance.
- Select the designated location: Choose a location that is suitable for the water softener unit. It should be near the main water supply line and have sufficient space for the unit to fit comfortably.
- Prepare the mounting surface: Clean and level the surface where the water softener will be mounted. This could be a wall or a sturdy frame specifically designed for installation.
- Secure the unit in place: Using screws or mounting brackets, attach the water softener unit to the designated location. Make sure it is securely fastened to prevent any damage or accidents.
- Ensure proper electrical connection: If the water softener unit requires an electrical connection, ensure it is properly connected to a power source. Follow the manufacturer’s instructions to avoid any mishaps.
- Confirm the unit’s stability: After installation, give the water softener unit a gentle shake to check its stability. It should be firmly in place, without any wobbling or movement.
Once you have successfully connected the water softener to the main water supply line, installed bypass valves for maintenance and regeneration, and mounted the unit in the designated location, your whole house water softener system is ready to provide you with the benefits of softened water throughout your entire home.
Connecting The Drain Line
Connecting the Drain LineOne of the crucial steps in installing a whole house water softener is connecting the drain line. This step ensures that the excess water from the regeneration process is properly disposed of. Follow the guidelines below to determine the ideal location for the drain line, ensure proper slope and avoid backflow, and connect it to the wastewater system.
Determining the ideal location for the drain line
To start with, you need to locate the ideal spot to connect the drain line of your water softener. This should be a suitable location near a floor drain or utility sink to easily dispose of the wastewater. Make sure to choose an area that is easily accessible and free from any obstructions. Additionally, consider the following factors while determining the ideal location:- The drain line should be positioned lower than the control valve of the water softener to ensure proper draining.
- Keep the distance between the water softener and the drain line as short as possible to minimize the potential for clogs or blockages.
- Ensure there is enough space around the drain line for future maintenance and repairs.
Ensuring proper slope and avoiding backflow
Once you have identified the suitable location for the drain line, it’s crucial to ensure proper slope and prevent backflow. Follow these steps:- Ensure that the drain line has a downward slope towards the drain or utility sink. This allows for effective and easy drainage of the water softener wastewater.
- The recommended slope for the drain line should be at least ¼ inch per foot to promote the flow of water.
- Use a level to check the slope, ensuring that the drain line is not level or sloping upwards, as this can result in backflow and inefficient drainage.
Connecting the drain line to the wastewater system
Now that you have determined the location and slope for the drain line, it’s time to connect it to the wastewater system. Follow these steps carefully to ensure a secure and proper connection:- Identify the nearest wastewater drain or utility sink where you will connect the drain line.
- Cut the drain line to the required length using a pipe cutter, ensuring precision and accuracy.
- Attach an air gap fitting to the end of the drain line. This fitting prevents any potential backflow of wastewater into the water softener system.
- Connect the other end of the drain line to the wastewater system by inserting it into the designated drain or utility sink, ensuring a secure fit.
- Verify that the connection is watertight by running water through the drain line and checking for any leaks or seepage.
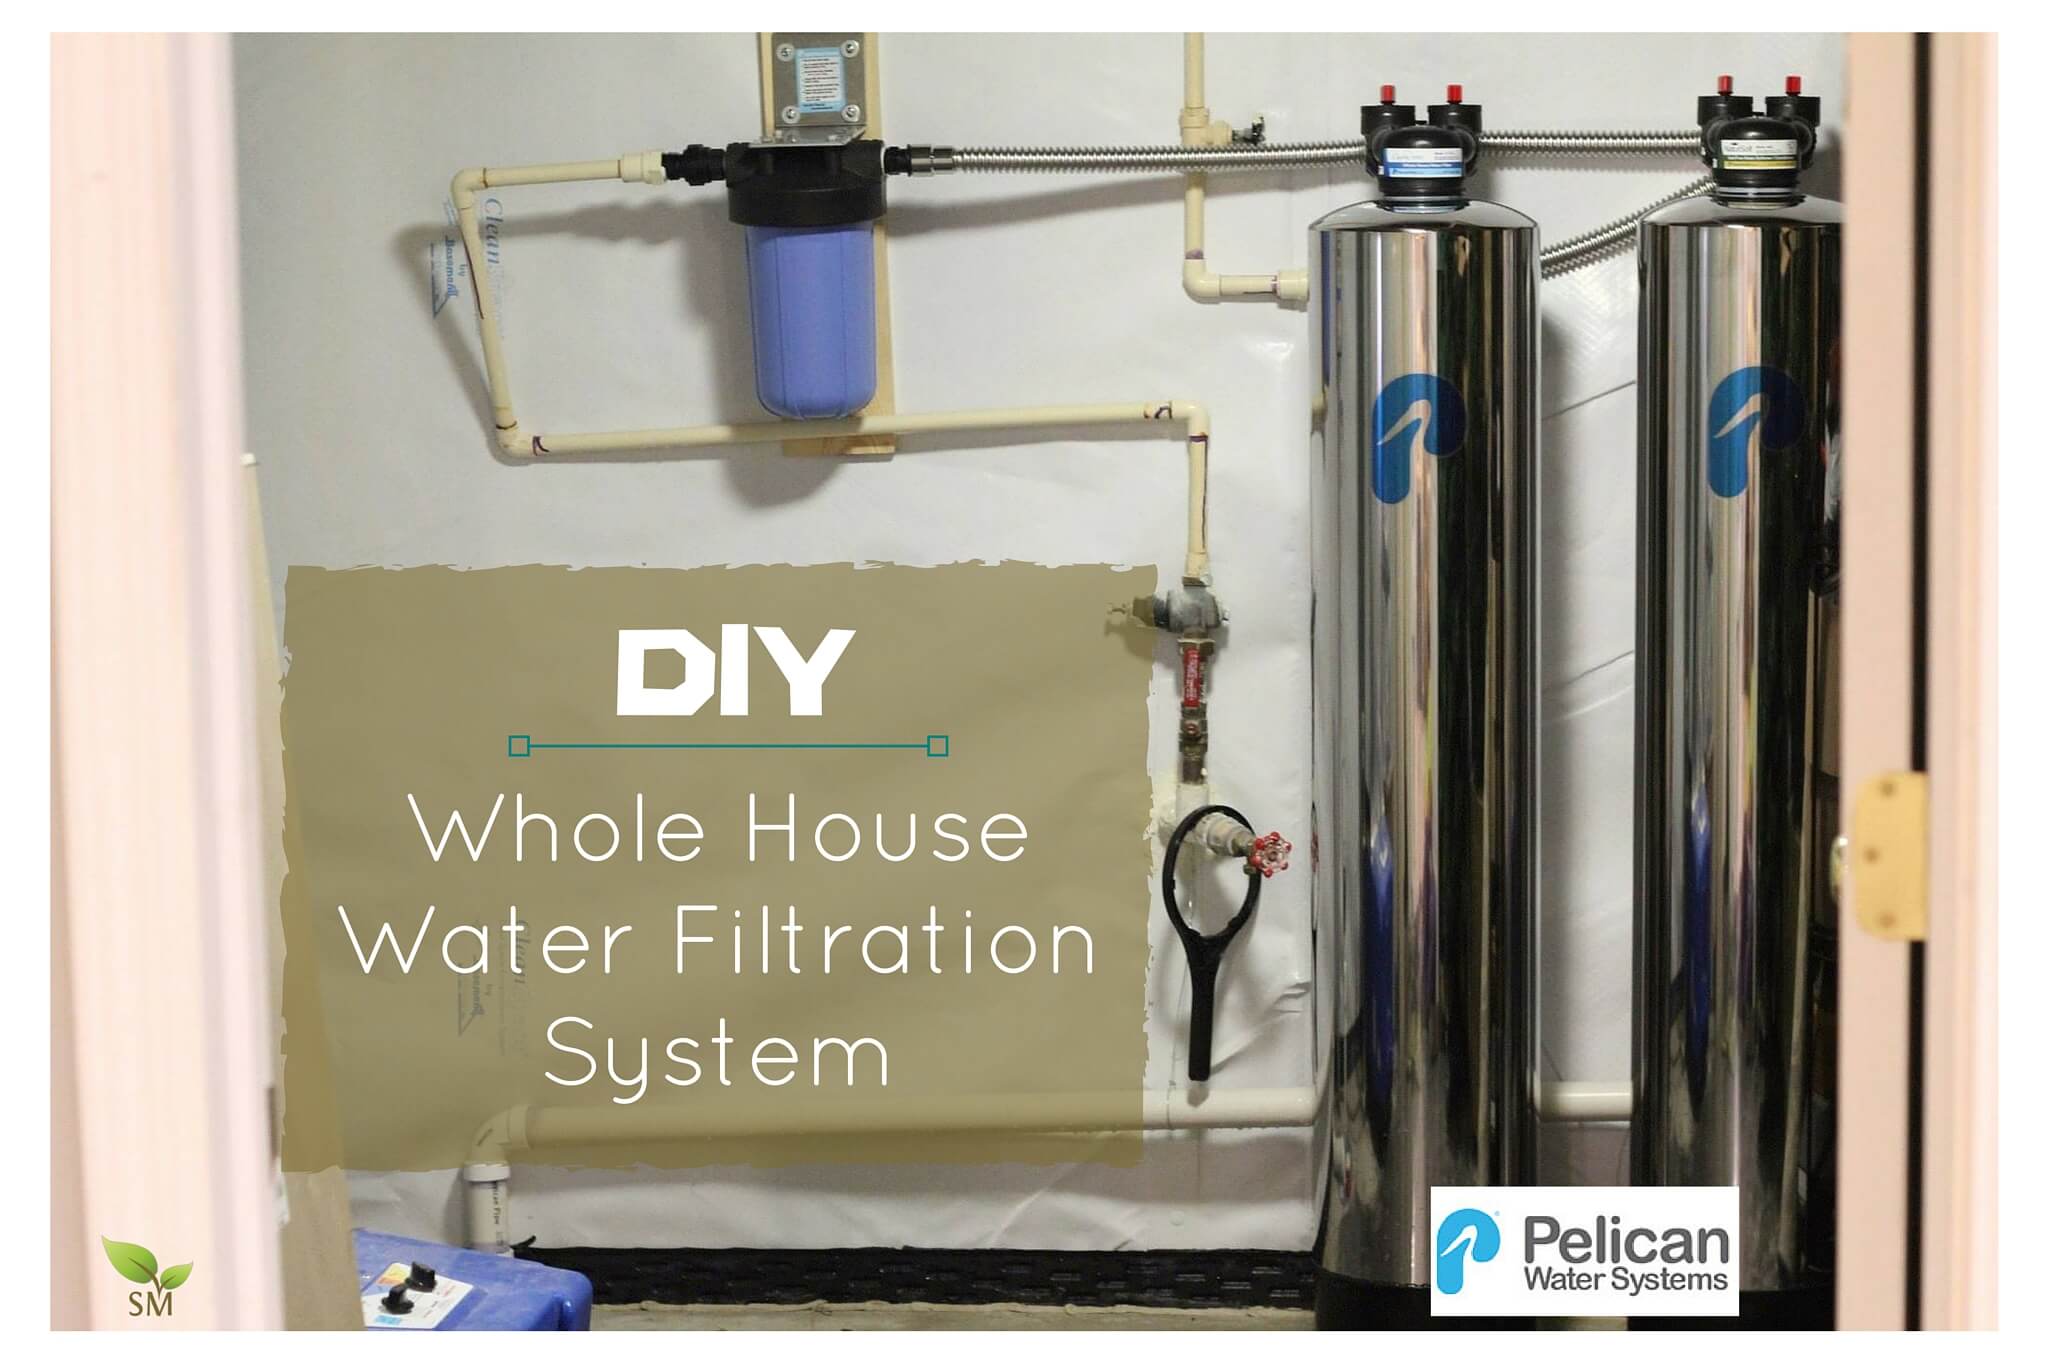
Credit: scratchmommy.com
Plumbing Connections And Testing
Plumbing Connections and Testing
Once you have successfully installed your whole house water softener unit, the next crucial step is to make the necessary plumbing connections and perform thorough testing to ensure that everything is functioning properly. This section will guide you through the process of connecting the inlet and outlet pipes of the water softener, checking for leaks and proper water flow, and adjusting the settings and programming the water softener.
Connecting the Inlet and Outlet Pipes of the Water Softener
Properly connecting the inlet and outlet pipes of your water softener is essential for the system to operate effectively. Follow these steps to ensure a secure connection:
- Locate the inlet and outlet ports on your water softener unit.
- Attach the appropriate plumbing fittings to the ports based on your plumbing configuration. Use Teflon tape or a pipe joint compound to seal the connections.
- Connect the inlet pipe to the water supply line coming into the water softener. Ensure a tight connection using a wrench or pliers.
- Attach the outlet pipe to the water softener’s output port, which will deliver the conditioned water to your home’s plumbing system.
- Double-check that all connections are secure and leak-free.
Checking for Leaks and Proper Water Flow
After connecting the pipes, it’s crucial to check for any leaks and ensure proper water flow throughout the system. Follow these steps to perform a thorough check:
- Slowly turn on the water supply to the water softener.
- Inspect all connections and fittings for any signs of leaks, such as drips or water pooling.
- If you notice any leaks, tighten the connections or replace faulty fittings as necessary.
- Next, check the water flow by opening a faucet near the water softener system.
- Observe the water pressure and ensure that the flow is consistent and smooth.
- If you experience any issues with water flow, troubleshoot the system or seek professional assistance.
Adjusting the Settings and Programming the Water Softener
Now that your water softener is properly connected and there are no leaks or flow problems, you can move on to adjusting the settings and programming the unit. Follow these steps to complete the process:
- Refer to the manufacturer’s instructions to locate the control valve or control panel on your water softener.
- Using the provided instructions, adjust the water hardness settings according to your water’s hardness level. This ensures the system treats the water effectively.
- Program any additional settings recommended by the manufacturer, such as regeneration frequency or water usage patterns.
- Confirm that the settings have been properly adjusted and saved.
- Leave your water softener to run for a few cycles, allowing it to fully adapt to your water supply.
- Regularly monitor and maintain the water softener as per the manufacturer’s recommendations.
By completing the plumbing connections, performing thorough leak and flow checks, and correctly adjusting the settings, you can ensure that your whole house water softener is up and running smoothly. Taking the time to properly install and test the system sets the foundation for enjoying the benefits of softened water throughout your home.
Regeneration And Maintenance
**Regeneration and Maintenance** Proper regeneration and maintenance are essential for ensuring the optimal performance of your whole house water softener system. In this section, we will discuss the key aspects of regeneration and how to set a schedule for it. Additionally, we will provide important maintenance tips to help you keep your water softener system in top shape. **Understanding the Regeneration Process** Regeneration is the process by which a water softener system renews its supply of resin beads, which are responsible for removing minerals that cause water hardness. This process involves the use of a salt-based brine solution that saturates the resin beads and replaces the hard minerals with sodium ions. To understand the regeneration process, let’s break it down into a few simple steps: 1. Salt storage tank: The salt storage tank is where you add salt pellets or blocks that are slowly dissolved in water to create the brine solution. 2. Control valve: The control valve activates the regeneration process at the scheduled time. It controls the flow of water and directs it through specific channels within the water softener system. 3. Brine tank: The brine tank holds the concentrated brine solution. During the regeneration process, water is drawn from the brine tank and mixed with the salt, creating the brine that will be used to regenerate the resin beads. 4. Brine draw cycle: In this cycle, the control valve draws water from the brine tank and mixes it with the salt, creating the brine solution. This solution is then distributed to the resin tank for the actual regeneration process. 5. Backwash cycle: Once the brine solution reaches the resin tank, the control valve initiates a backwash cycle. This step washes away the displaced minerals and debris from the resin beads, flushing them out through a drain. 6. Regeneration cycle: After the backwash cycle, the control valve allows the brine solution to flow over the resin beads. The sodium ions in the brine solution replace the hard minerals, regenerating the resin beads for another cycle of water softening. **Setting a Schedule for Regeneration** To ensure consistent water softness, setting a schedule for regeneration is crucial. The frequency of regeneration depends on factors such as water usage, water hardness, and the capacity of your water softener system. Follow these steps to set a schedule for regeneration: 1. Calculate your water hardness level: This can be done using a water testing kit or by contacting your local water supplier. The hardness level is measured in grains per gallon (GPG). 2. Determine your water softener capacity: Refer to your water softener system’s manual to find its capacity, measured in grains. 3. Calculate the regeneration schedule: Divide the capacity of your water softener system (in grains) by your daily water usage (in gallons) to determine how often your system needs to regenerate. For example, if your system has a capacity of 48,000 grains and you use 300 gallons of water per day, you need to regenerate every 160 days (48,000 grains ÷ 300 gallons/day = 160 days). 4. Set the regeneration time: Most water softener systems allow you to program the regeneration time. Choose a time when water usage is typically low, such as early morning or late at night, to minimize any inconvenience. **Maintaining the Water Softener System for Optimal Performance** Proper maintenance is vital for keeping your water softener system running smoothly. Here are some essential maintenance tips: 1. Check the salt level regularly: Ensure that the salt level in the brine tank is sufficient. Maintain an adequate level to allow for proper brine production during regeneration. 2. Clean the brine tank: Occasionally, clean the brine tank to remove any residue or sediment buildup. Wipe the walls of the tank and rinse it thoroughly before refilling it with salt. 3. Inspect the control valve and resin tank: Check for any visible signs of damage or leaks in the control valve and resin tank. If you notice any issues, contact a professional for repairs. 4. Test water hardness periodically: Regularly test the water hardness to ensure that your water softener system is effectively removing minerals. Adjust the regeneration schedule if necessary. Following these maintenance tips will help maximize the lifespan and efficiency of your water softener system, allowing you to enjoy the benefits of soft water throughout your home. Now that you understand the regeneration process and how to set a schedule for regeneration, as well as essential maintenance practices, you can ensure that your whole house water softener system continues to provide you with the highest quality soft water for years to come.Ensuring Proper Functionality
Once you have successfully installed your whole house water softener system, it is important to ensure its proper functionality. Testing the system, checking for soft water throughout the house, and troubleshooting any common issues are essential steps in maintaining the efficiency of your water softener.
Testing the Water Softener System
To verify that your whole house water softener system is running effectively, perform a simple test. Fill a clear glass with tap water and add a few drops of liquid soap. Stir the mixture gently and observe if a good lather is formed. If the water is soft, the soap will create abundant suds that last for a while.
If the water doesn’t lather adequately and the soap quickly loses its effectiveness, it indicates that the system may not be functioning correctly. In such a case, it is advisable to consult the manufacturer’s instructions or contact a professional plumber to address the issue.
Checking for Soft Water throughout the House
After installing a whole house water softener, it’s crucial to ensure that every water outlet in your home receives softened water. Start by checking the water directly from different taps, including the kitchen, bathroom, and laundry room.
- If you notice a white, chalky buildup around the faucets or on dishes and glassware, it indicates the presence of hard water. This suggests that the water softener system is not effectively treating the water.
- On the other hand, if you no longer see the white buildup and your dishes come out sparkling clean, it confirms that the water softener is functioning correctly.
In rare cases, you may find that only selected areas of your house are receiving soft water while others still have hard water. This might be due to specific plumbing configurations or the need for adjustments in the water softener settings. If this occurs, consider contacting a professional plumber to evaluate and rectify the issue.
Troubleshooting Common Issues
While whole house water softeners are generally reliable, occasional issues may arise that affect their performance. Here are some common problems you might encounter:
| Issue | Possible Solution |
|---|---|
| The water softener doesn’t regenerate | Check if the bypass valve is closed and ensure the unit is plugged in and receiving power. If the issue persists, refer to the manufacturer’s troubleshooting guide or contact a professional plumber. |
| Low water pressure throughout the house | Inspect the water softener for any clogs or obstructions. Clean or replace the filter if needed. Additionally, check the supply valve and ensure it is fully open. |
| Excessive salt usage | Ensure the salt dosage is set appropriately based on your water hardness level. Adjust the settings if necessary and consider consulting the owner’s manual for guidance. |
Remember, keeping your whole house water softener in optimal condition requires regular maintenance and periodic checks. By testing the water softener system, checking for soft water throughout the house, and troubleshooting any common issues, you can enjoy the benefits of softened water and extend the life of your water softener system.
Frequently Asked Questions For How To Install A Whole House Water Softener
How Does A Whole House Water Softener Work?
A whole house water softener uses ion exchange to remove minerals that cause hard water, leaving you with soft, clean water throughout your home.
What Are The Benefits Of Installing A Whole House Water Softener?
Installing a whole house water softener can result in reduced limescale buildup, softened skin and hair, longer-lasting appliances, and cleaner, spot-free dishes and glassware.
How Long Does It Take To Install A Whole House Water Softener?
The installation process for a whole house water softener typically takes a few hours, but it can vary depending on the complexity of your plumbing system.
Can I Install A Whole House Water Softener Myself?
While it’s possible to install a whole house water softener yourself, it’s recommended to hire a professional plumber to ensure proper installation and avoid any potential issues.
How Often Do I Need To Regenerate The Water Softener Resin?
The frequency of regenerating the water softener resin depends on your water consumption and hardness level. Typically, it’s recommended to regenerate the resin every 2-4 weeks.
Can I Use A Whole House Water Softener If I Have A Private Well?
Yes, a whole house water softener can effectively treat water from private wells by removing minerals and improving its quality. A water test may be necessary to determine the specific treatment requirements.
Conclusion
Installing a whole house water softener is an essential step towards improving the quality of your home’s water supply. By following the step-by-step instructions provided in this blog post, you can successfully install the system and enjoy the benefits of soft water.
Remember to gather all the necessary tools and materials before you begin the installation process. Once installed, you’ll notice a significant difference in the efficiency of your appliances and the feel of your skin and hair. Take action now and embrace the benefits of a whole house water softener.